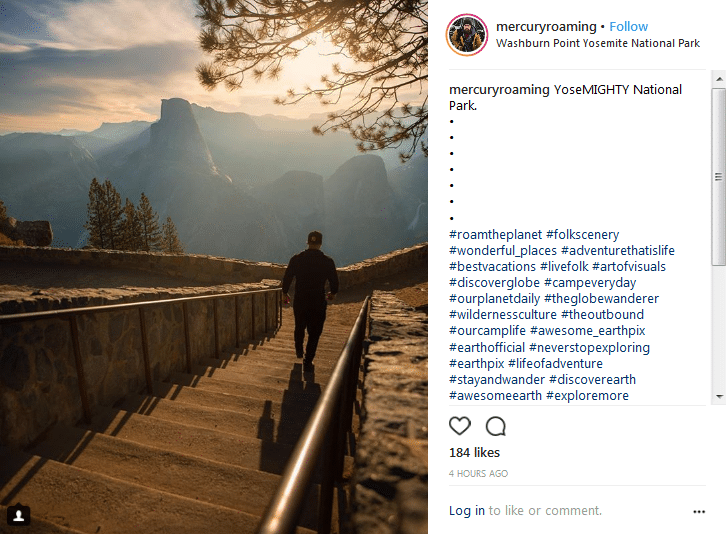
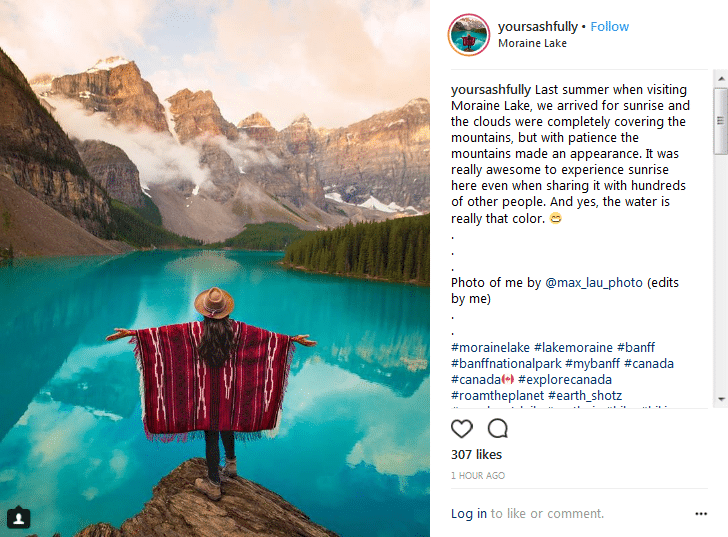
Instagram is becoming a familiar destination when you want to post a new image. It could be food, travel, lifestyle or simply everyday life, where celebrities build relationships with their subjects. But what makes your Instagram stand out?
The secret to increasing the number of followers, helping you become an Instagram influencer?
That is: Great quality images!
Of course, because Instagram is a social network about images. At least know the basics that the photo size on Instagram is square, so avoid uploading long photos that create white streaks on both sides that look very ugly, or crop them square but ruin the layout of your photo.
Creating great images for Instagram doesn't have to be a difficult task, as long as you know a few important photography tips. From lighting, composition to editing, there are a few parameters to consider before and after you take a photo.
This is an article based on the content of Social Media Today's article, which will give you the simplest tips to help you take beautiful photos.
1.Light
One factor that helps us create a beautiful photo, or can also destroy it, is light. Dark, blurry, and grainy photos often look bad on Instagram, an image shot with natural light will stand out – and help you get more engagement on Instagram.
So how can you get the best light? Make sure you check the brightness on your Camera – if it's too high, your background will be too bright on a sunny day.
To avoid this, turn down the brightness and take slightly underexposed photos. Don't worry because the low light image can be adjusted later.
Images that are too bright (too bright in the original image) are difficult to improve much. In such cases, the background will often appear completely white instead of having a light blue tint.
Another option is for you to use HDR images. These images are a mixture of underexposed, overexposed, and normal images. If taken properly, they can make the sky look perfect – and I believe your phone also has an HDR mode, right?
You can use this to make your photos look attractive, especially landscape photos – however, you should try not to use too much HDR, as it can make the image look unnatural .
Natural light is the best light for your photos because it makes the photo more realistic. However, natural light can also have many variations – For example, if you take photos at sunrise or sunset, your photos will have low resolution. However, a photo taken in the afternoon may have high brightness and contrast.
On a cloudy day, the sky will be overcast and have some gray in it. This is a good time to take photos - especially selfies. The dark part still has light and the light spreads out to engrave the image. This cannot happen on a sunny day when the sky is too bright and the shadows are strong.
2. Layout
Before taking a photo, think about the composition of your shot. The same subject or objects can be photographed from different angles or different positions in the frame. Is that an element that you're going to make stand out?
There are several ways to arrange the layout, you can Google a lot. But one of the quite important rules is the "1/3 Rule".
Divide your photo into a grid (this feature can be enabled on the camera), the image will be visually divided into 9 squares.
As a rule, you should line up the most important elements of your composition along the lines or intersections of the grid. This creates more focus on the subject compared to an image where the focus is centered.
Here is an example:
3. Style
Instagram profiles are especially great if they have a style or a dominant color tone.
You can seek inspiration from other Photographers to find a color scheme that suits you and the types of photos you take. A great way to think about style is in terms of color tone – stick to neutral, warm or cool tones to make your photos pop.
If you like fashion or lifestyle, try neutral tones – they are pleasing to the eye and can make your image pop.
Additionally, uniform and consistent theme colors will encourage more follower engagement with your photos.
4. Publish post.
In photography, only half of the work is done when you take the photo – post-production is extremely important. Here, you can improve any aspect of the photo that you're not happy with before publishing.
This is also where creativity can play a big role. During this process, you can change lighting, contrast, shadows, and more. You have the ability to completely change the look of your photo to make it look great on Instagram.
Instagram itself offers different options for editing your images before uploading. You can change all the aforementioned parameters manually or you can apply Instagram's built-in filters.
Using this built-in editing feature, you can greatly improve your images. But Instagram's editing tools also have their limitations. In such cases, apps like Mendr can be a lifesaver for you.
With Mendr, you can enhance photos just like you can on Instagram, but you can do much more, including changing someone's hair color, removing tattoos, fixing wrinkles, adding clouds, and even removing object,…
All you do is upload a photo and select the changes you want to make, then have your photo sent to one of Mendr's certified editors who will start making it all happen. exchange yours immediately. When your photo is ready, you'll receive a notification to review and download your photo.


